Now your fingers are used to forming closed chords! Even if they aren’t completely comfortable just yet, you’ll continue to improve your dexterity with practice. In this lesson, we’ll be discussing how to use those closed chords to play up and down our mandolin neck. By the time we’re finished, you’ll know plenty of registers to strum a chord, high G’s, low and in between. The only question is when will you use them? That’s for you to decide. Without getting too ahead of ourselves, let’s discover how we can use these moveable chords.
This is probably the most important roadmap any mandolin player needs to know!
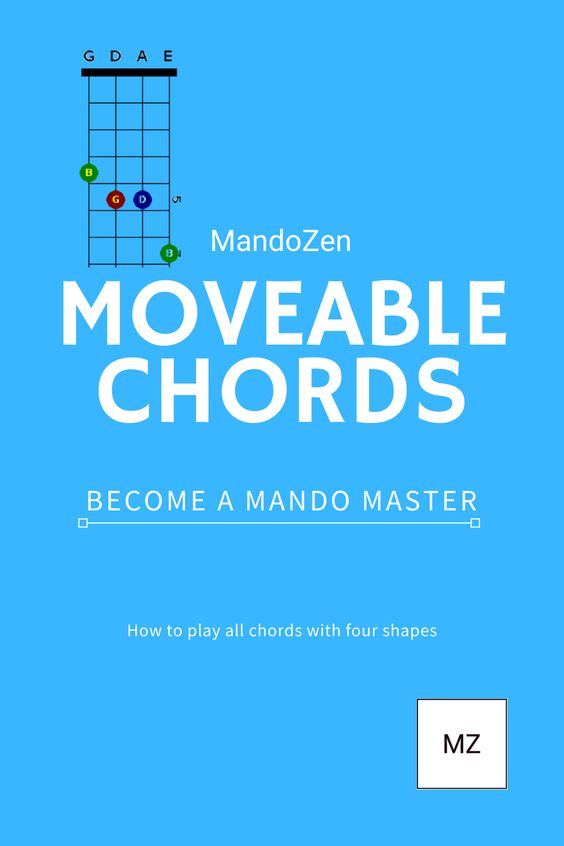
Here are the chord shapes we’re going to start with. We’ll keep them in the major key for now.
| A | F |
 |  |
The A and the F chord shapes. Even in our last lesson, going over the first position, we were using these shapes in other places besides the first position in order to achieve the note. For example, the Bb was just the A chord. But instead of staring on the second fret with our index finger, we started a half step up on the third fret. For the F, we played the E chord with the exact same shape but just a half step down, index on the first fret.
To make it easy, let’s look again at the order of notes.

A starts it off, let’s begin there too. Check out how easy it is! Want to play a B with the shape? Just slide your fingers up a whole step and you’re there. How awesome is that? While a guitarist needs a capo, you’ve got a capo built-in! This is a lifesaver anytime I have to play a chord like C#. Nothing to it. Just clamp my fingers down, stating on the sixth fret, and I’ve got the chord! Not only is it easier than playing a C# any other way, but you’ll be playing up on the neck which doesn’t look easier to the audience or your jam buddies.
If the A shape lets you play all the notes you could want, why learn any other shapes? If you tried plucking the G chord you wouldn’t be asking that. It’s not practical to play that chord! Way too high pitched. Plus the frets are so close, the strings are bound to buzz or mute when you strum. This is when you deploy the F shape.
Where’s the G chord when you use the F shape? The chart tells us that it’s two frets up. So now the chord starts on the fourth fret instead of the 12th fret as the A shape does. Much better. Now if you want your A chord to be higher pitch you can use the F shape, starting on the 6th fret.
If all you know is the closed F shape and the closed A shape you’ll be able to play any chord you need to. But that gets stale. What’s so awesome about closed chords is you can give any note a new flavor by playing it in new formations on different parts of the neck.
Let’s try the closed G chord. That bugger. You can play an A with it if you move the G up two frets. This is a really common shape. The frets are ever so slightly closer together too, so it makes the G shape easier to manage. While the finger pattern is easier to shape, it requires precision. Make sure your fingers are set up the same distance as they would be in their original shape.
| G | A |
 |  |
The C Chord shifted up a whole step (two frets) turns into a D chord. This is tactic is used a lot by folk singers on their guitars. No surprise that it’s a great maneuver on mandolin too! You’re able to
| C | D |
 |  |
Here’s a really cool thing. If you know the 1,4,5 chords in one key, all you have to do to play the song in a new key is to move your fingers up or down some frets and you’re there! So if you’re playing La Bamba in the key of A and you want to play the song in the key of C, just move up one and a half steps. No need to learn any new chords! Now your A shape is on the fifth fret.
| 1 | 4 | 5 |
| A | D | E |
 |  |  |
Slide these shapes up one and a half steps (or three frets) and you’re playing from the key of A to the key of C. Just like this:
| 1 | 4 | 5 |
| C | F | G |
 |  |  |
Take a moment to notice the corresponding shapes and the notes. See how the notes line up – the A notes in the A chord are where the C notes are for the C chord. As long as the shape is the same, wherever you place the pattern on the fretboard the notes will line up like this.
Minor Chords
| Am | Em |
 |  |
Minor chords work the same way as the major chords, no surprise there. Just like how versatile the A shape and the F shape are, the A minor shape and the E minor shape offer just about every chord you’ll need! We’re able to use the same order of notes as the major chords to find where to place the patterns.
The A minor starts exactly where the A major does, but the middle finger is engaged instead of the ring. Wherever you played a major chord with the A shape, you can play a minor. I know that on guitar, the C minor chord has always been intimidating. Where am I suppose to play it? That’s why I love playing mandolin. It just makes sense! The capo is built-in. Set my index finger on the fifth fret and strum an A minor shape.
While not an F minor, E minor is super similar. It’s just a half step back. This shape is great for accomplishing any chord between the E flat / D sharp minor to the A flat / G sharp minor. Any other chord you can use the A minor shape to reach.
That’s the beauty of closed chords on the mandolin! They’re so straightforward. Once you know at least two major and two minor chord shapes you can play anything! It is the foundation of the mandolin. Not only will you be able to jam along to any song, no matter where a guitarist puts a capo, you’ll also be flying up and down the neck! Everyone, including you, will know that you know your instrument.
